Art Party

This was lost in my “pictures for the website file” that seems to be a pit of things I haven’t gotten to! A few years ago we did this for our oldest daughter and I think it’s time to do another one.  She loves art and so an artsy fartsy birthday was perfect.  She also loves bright colors so I used primary colors to decorate.
Her cake was so simple and cute!

I made 6 layers and colored each a color of the rainbow.  I used a white frosting in between each…

Frosted the outside and then went to town with primary colored sprinkles.

On top I added a rainbow made from marshmallow fondant.  (Use a skewer on each side to give structure and place into cake)  I set this out to dry a couple days ahead of time to firm it up as well.
Then I added some “clouds” with more white frosting on top

It looked pretty cool when we cut into it.

I made pizza and also some colorful whoopie pies.  Just use your favorite chocolate chip cookie recipe.  Just use white chocolate chips and add some sprinkles, sandwich with frosting and roll sides in sprinkles.

“Paintbrushes” were pretzel rods dipped in brown candy melts, then the tops in a colored melt.

Rice Krispy treats made great paintbrushes too!

I used my “Monster Munch” recipe but used m and m’s instead of reese’s and all white chocolate.

Some white tulle bunches and primary colored streamers made a fun rainbow and cloud backdrop. White balloons would work well too.

The activity was fun and pretty messy! I put an example up of what each station was for.
Spin art is popular in our house.  I just use a cheap salad spinner from IKEA, paper plates trimed to fit it (or construction paper, but you’ll want something thicker), and watered down paint in small bottles.

Marble painting got messy fast but they had so much fun.  Just use washable paints, a container for each color, marbles, and a tray that your paper fits in.

I made the invite myself on Microsoft Word as usual.

If you have a little one who loves art an art party is a fun inexpensive idea! Just make sure to have fun doing things together for the party and be prepared to clean up a mess! 😉

Honey Garlic Salmon

This is the first way I got my kids to eat (and love) salmon… scratch that, my kids AND my hubby!
It is super quick to make and every time we have it I am reminded why we love it!  Perfect with roasted veggies and grains for an easy quick dinner that pleases everyone!

HONEY GARLIC SALMON

12-16 oz salmon fillets, skin removed
1 green onion, sliced thin

Sauce:
1 Tablespoon soy sauce
1 Tablespoon honey
1 tsp sesame oil
1 Tablespoon lime juice
3 garlic cloves, minced
1/4 tsp salt
1/4 tsp black pepper

Whisk together all the sauce ingredients and place in a ziplock bag with salmon.  Marinate for 15-20 minutes in the fridge.
Heat a non stick skillet over medium heat and when hot remove the salmon from the sauce and add to pan.
Cover and cook 3 minutes.  Flip salmon and recover pan for 3 more minutes.  Remove lid and continue to cook for a minute or until cooked through and slightly caramelized.  Garnish with green onions.

Honey Garlic Salmon

Ingredients

  • 12-16 oz salmon fillets, skin removed
  • 1 green onion, sliced thin
  • Sauce:
  • 1 Tablespoon soy sauce
  • 1 Tablespoon honey
  • 1 tsp sesame oil
  • 1 Tablespoon lime juice
  • 3 garlic cloves, minced
  • 1/4 tsp salt
  • 1/4 tsp black pepper

Instructions

Whisk together all the sauce ingredients and place in a ziplock bag with salmon.  Marinate for 15-20 minutes in the fridge.

Heat a non stick skillet over medium heat and when hot remove the salmon from the sauce and add to pan.  

Cover and cook 3 minutes.  Flip salmon and recover pan for 3 more minutes.  Remove lid and continue to cook for a minute or until cooked through and slightly caramelized.  Garnish with green onions.

https://mystainedapron.com/honey-garlic-salmon/

Homemade Steak Sauce


“Steak sauce” is a little misleading, as this sauce is great on other things too.  Grilled chicken is particularly good with it, even veggies too.
I am baffled at recipes for steak sauce, BBQ sauce, or other homemade condiments and the main ingredient is ketchup.  If you are going to the trouble of making a homemade condiment do yourself a favor and use tomato products, not a premade ketchup as a base.
The end of summer is fast approaching.  But do yourself a favor and have at least one more grill night and take a tiny bit of time to make this easy amazing sauce.  I’m sure we’ll have it in winter even!

HOMEMADE STEAK SAUCE

1 white or yellow onion, chopped (approx 1 1/2 cups)
3 cloves garlic, minced
16 oz can tomato sauce
6 oz tomato paste
1/2 cup brown sugar
1/4 cup Worcestershire
1/4 cup lemon juice
1/4 cup soy sauce
1/4 cup apple cider vinegar
2 Tablespoons molasses
1 tsp mustard powder

In a medium pot saute the onion and garlic over medium heat until softened and fragrant.
Add remaining ingredients and bring to a boil.  Reduce heat and simmer for 15-20 minutes.

Pour through a strainer and discard onions and garlic.  Store in the refrigerator in an airtight container for a couple weeks or freeze for longer storage.

Homemade Steak Sauce

Ingredients

  • 1 white or yellow onion, chopped (approx 1 1/2 cups)
  • 3 cloves garlic, minced
  • 16 oz can tomato sauce
  • 6 oz tomato paste
  • 1/2 cup brown sugar
  • 1/4 cup Worcestershire
  • 1/4 cup lemon juice
  • 1/4 cup soy sauce
  • 1/4 cup apple cider vinegar
  • 2 Tablespoons molasses
  • 1 tsp mustard powder

Instructions

In a medium pot saute the onion and garlic over medium heat until softened and fragrant.

Add remaining ingredients and bring to a boil.  Reduce heat and simmer for 15-20 minutes.

Pour through a strainer and discard onions and garlic.  Store in the refrigerator in an airtight container for a couple weeks or freeze for longer storage.

https://mystainedapron.com/homemade-steak-sauce/

Smoked Mac and Cheese

DSC09339

Do you have a favorite BBQ side dish? This was so fantastic, and unique and different.  Plus, in the summer when the smoker is going for a protein its great to be able to throw a side dish in there and not have to cook it in the house.  If you love smoked cheese you will love this!

DSC09341

SMOKED MAC AND CHEESE

1/2 cup unsalted butter
1/2 cup flour
4 cups milk
1 lb shredded cheese
salt and pepper to taste
1 pound elbow noodles, slightly under cooked

Melt butter in a large saucepan over medium heat.  Whisk in flour and cook for a minute.
Add milk slowly, whisking in.  Cook until thickened and smooth.
Add cheese and stir until smooth.
Season with salt and pepper.
Place in a greased foil pan and hot smoke for 1-2 hours, to desired smokiness.

Smoked Mac and Cheese

Ingredients

  • 1/2 cup unsalted butter
  • 1/2 cup flour
  • 4 cups milk
  • 1 lb shredded cheese
  • salt and pepper to taste
  • 1 pound elbow noodles, slightly under cooked

Instructions

Melt butter in a large saucepan over medium heat. Whisk in flour and cook for a minute.

Add milk slowly, whisking in. Cook until thickened and smooth.

Add cheese and stir until smooth.

Season with salt and pepper.

Place in a greased foil pan and hot smoke for 1-2 hours, to desired smokiness.

https://mystainedapron.com/smoked-mac-and-cheese/

Smoked Corn on the Cob

DSC09338

This is really a recipe.. just an awesome suggestion.  If you have a smoker running throw some shucked corn on the cob where ever you have an empty spot and an hour later you have the most amazing corn on the cob!
You can brush some melted butter or olive oil on it before hand and sprinkle with seasoning, or just throw it in plain like we did and really let the smoke flavor shine.
So good!
Next time I’m making extra so I can use the leftovers to make some smoky corn fritters!

Unicorn Parfaits

DSC09284

If you think the unicorn themed treats are so last year.. well, you don’t live in our house!  These are the funnest little parfaits for little ones that believe in all things magical.. and delicious! 🙂 I highly recommend getting some edible gold star sprinkles for an extra touch!

UNICORN PARFAITS
Lucky charms
Whipped cream (or non dairy whipped topping, thawed)
various sprinkles and decorations for topping

Separate the marshmallows out of the cereal. Set aside.
Divide whipped cream into 2 or 3 bowls and color each. We did one purple and one blue.
Fill two disposable pastry bags with whipped cream.  Place both bags inside a large pastry bag fitted with a large star.
Alternatively, you could just spoon the whipped cream in.
Pipe or spoon some in parfait cups or small canning jars.  Sprinkle some cereal, then pipe some more.  Do 3 or 4 of these layers, depending on the size of your containers.
Sprinkle the top with the marshmallows and sprinkles just before serving.

Unicorn Parfaits

Ingredients

  • Lucky charms
  • Whipped cream (or non dairy whipped topping, thawed)
  • various sprinkles and decorations for topping

Instructions

Separate the marshmallows out of the cereal. Set aside.

Divide whipped cream into 2 or 3 bowls and color each. We did one purple and one blue.

Fill two disposable pastry bags with whipped cream. Place both bags inside a large pastry bag fitted with a large star.

Alternatively, you could just spoon the whipped cream in.

Pipe or spoon some in parfait cups or small canning jars. Sprinkle some cereal, then pipe some more. Do 3 or 4 of these layers, depending on the size of your containers.

Sprinkle the top with the marshmallows and sprinkles just before serving.

https://mystainedapron.com/unicorn-parfaits/

Scooby Doo Party

My youngest LOVES Scooby Doo so for her last birthday we of course had a Scooby Doo theme.
I have a few rules about birthdays:
1. We’re not breaking the bank, a kid’s birthday party should be fun, but also inexpensive.
2. If we’re going to have a “theme” it’s because we’re going to spend time together making fun things.

We thought of some pretty fun things for the Scooby Doo theme, and had lots of fun making them together.
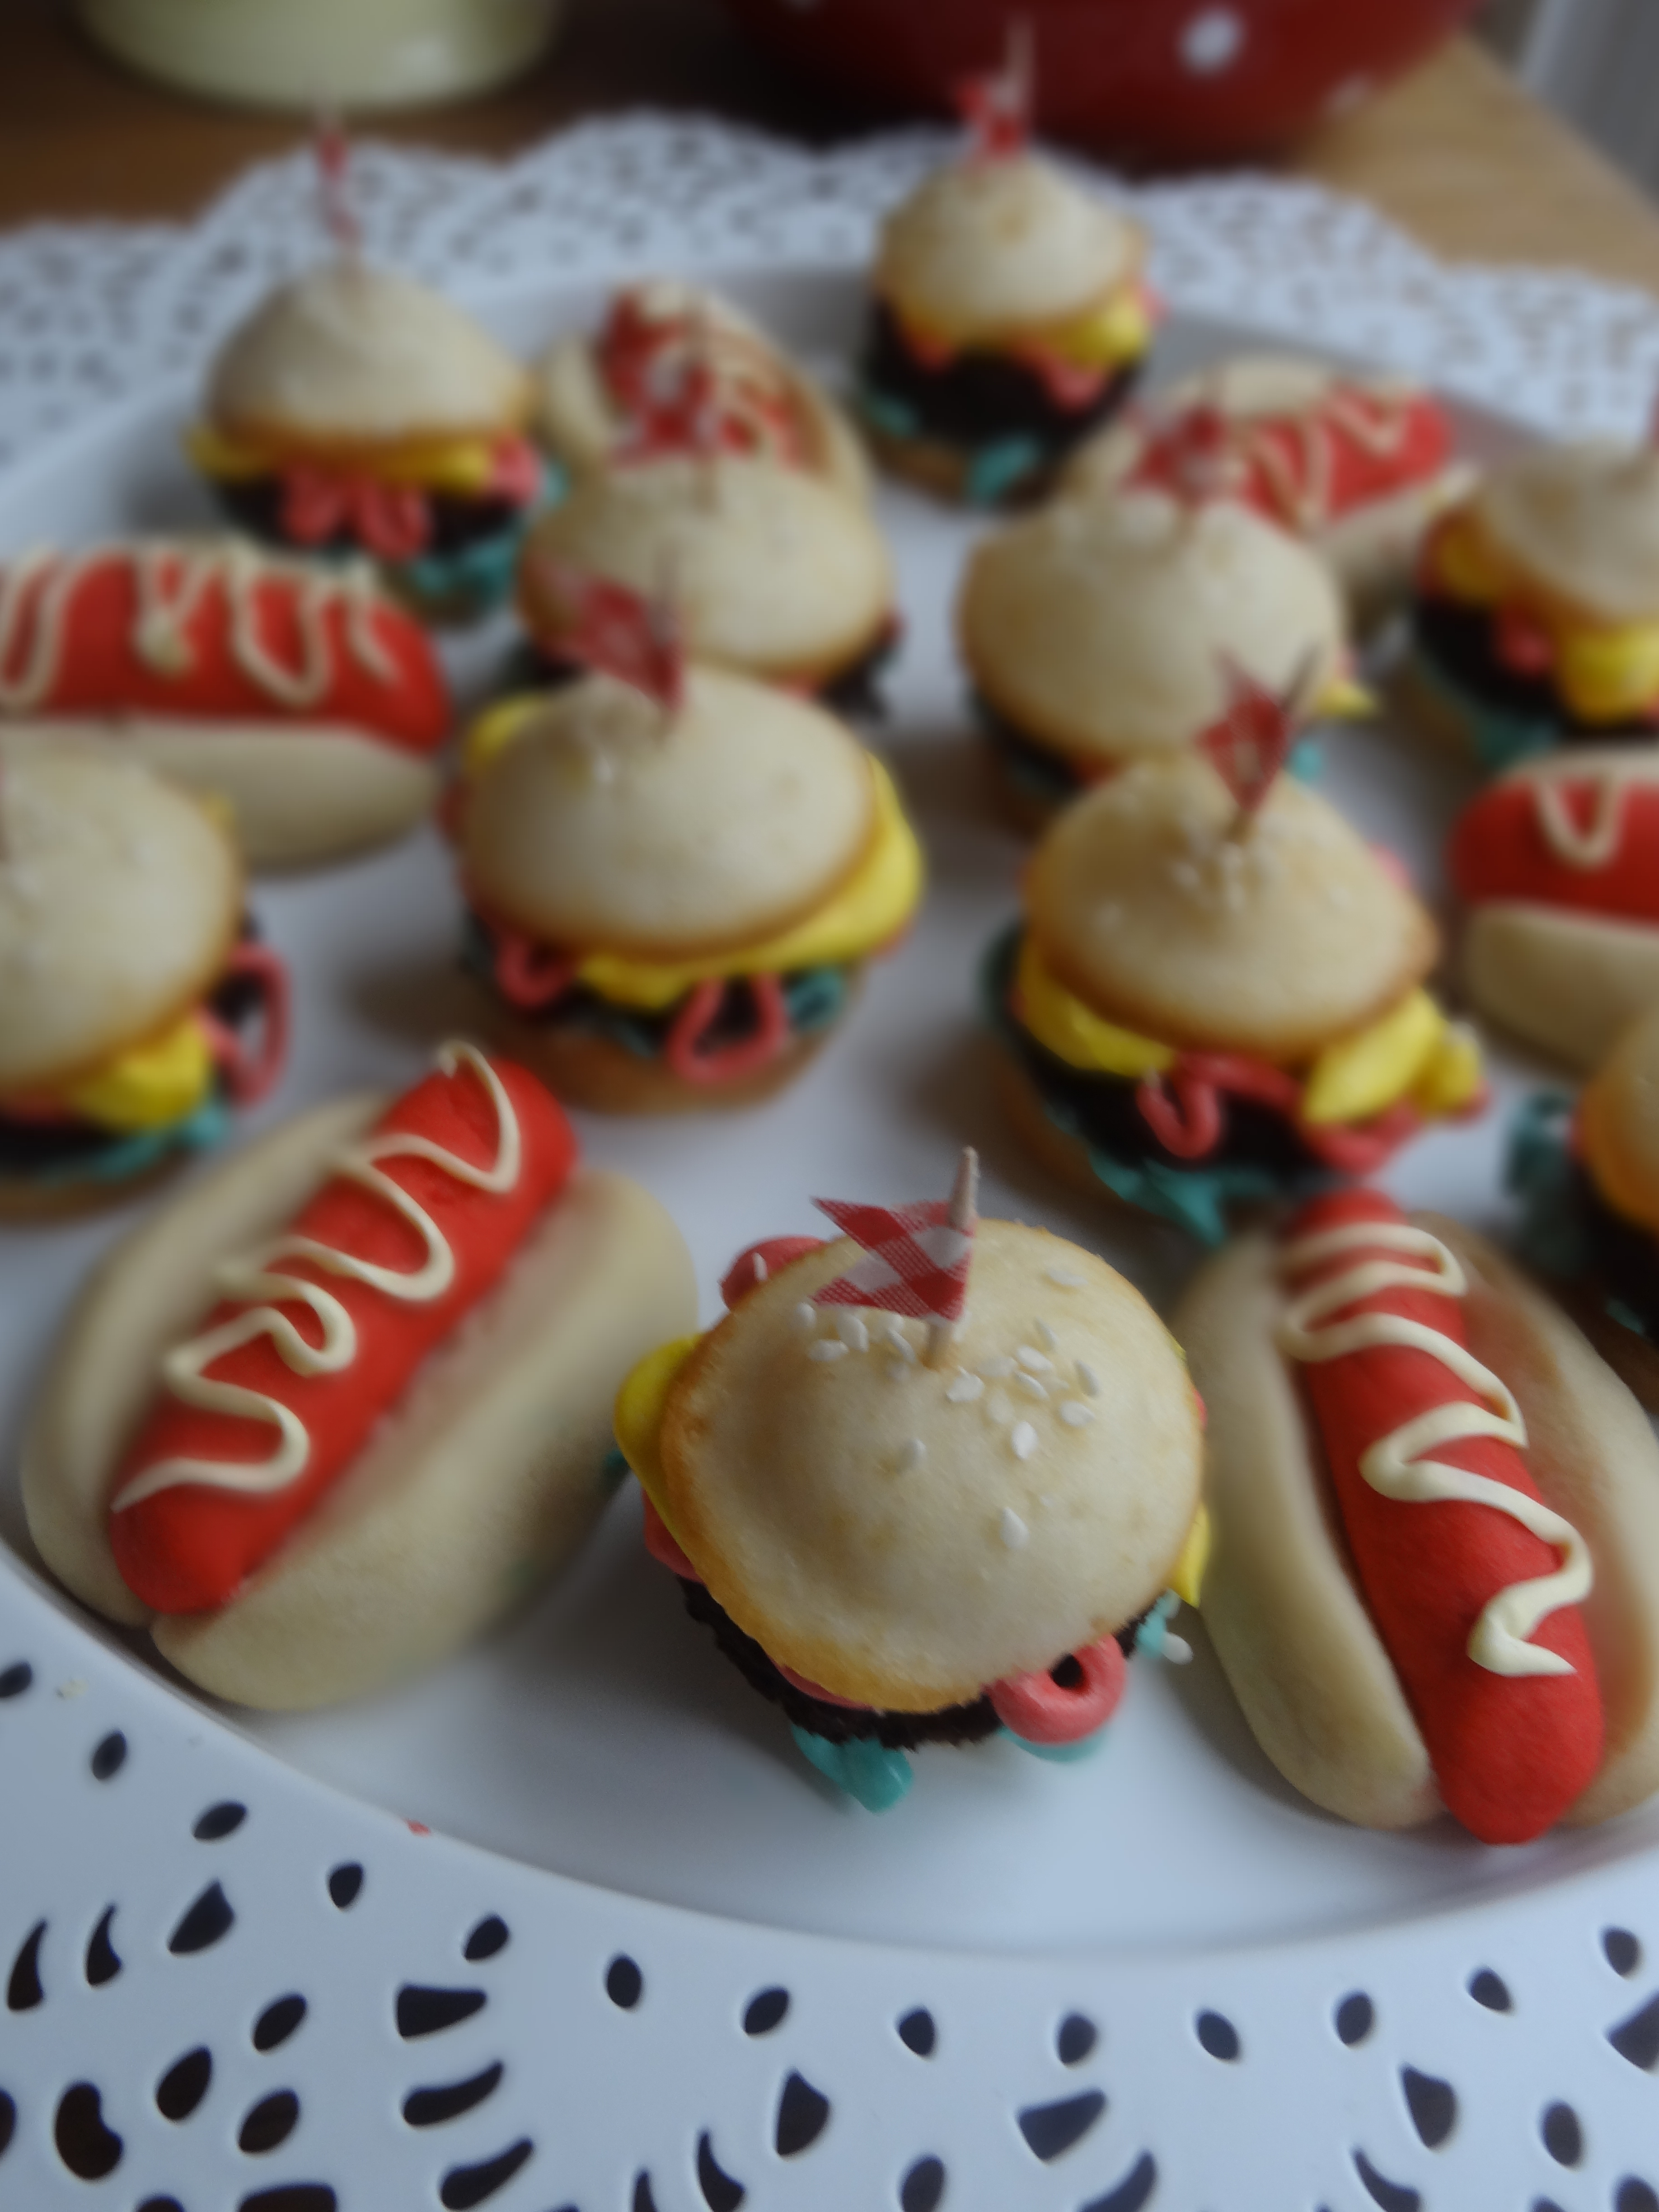
First up, hamburger “cake pops”.  Directions here.
DSC07211

And of course Scooby would want some hot dogs to go with the burgers!

DSC07214

Orange Soda.. I mean, Jinkies Juice.

DSC07217

DSC07218

The cake was probably her favorite thing to make.  We found some ideas on pinterest for making a fondant scooby.
We used our trusty Marshmallow fondant of course.

DSC07206

More directions on making it here.

DSC07207 DSC07209

For activities they make their own pizzas.

DSC07220

And played the “mummy game”.

DSC07223 DSC07226 DSC07228

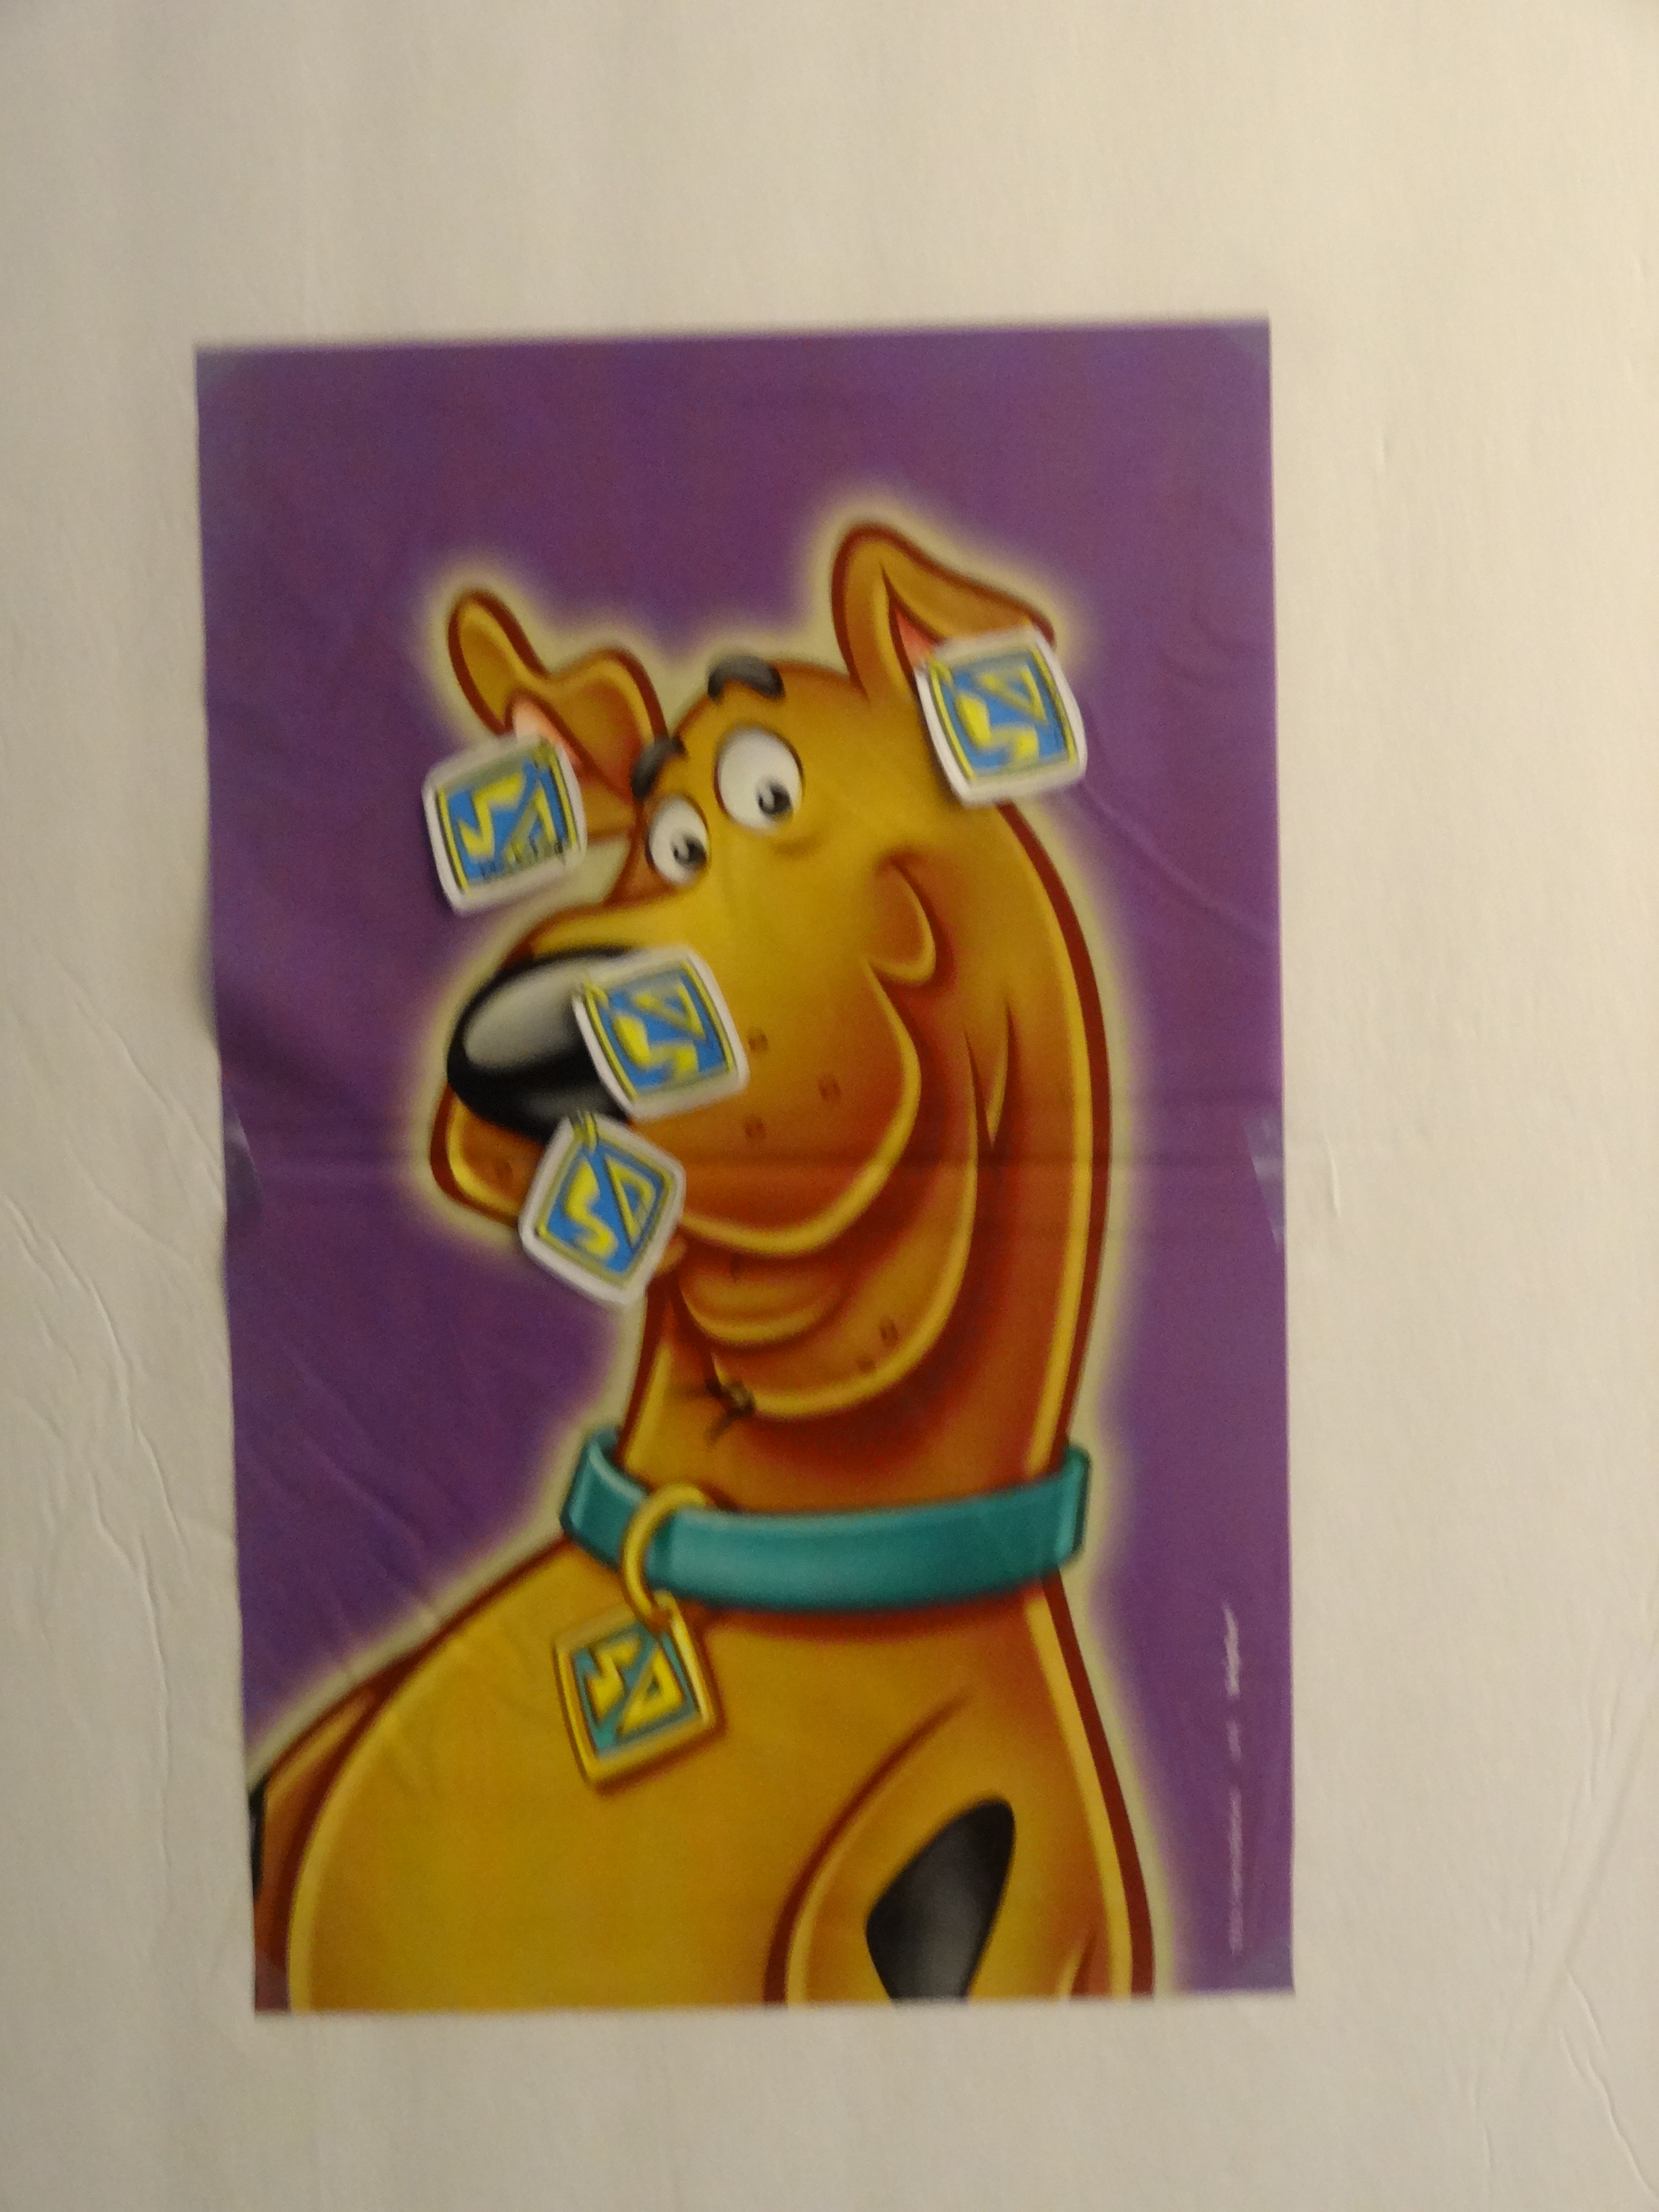
And pin the tag on scooby.

DSC07232

Hamburger Cupcakes

DSC07211

These were the perfect addition to a Scooby-Doo themed party!

HAMBURGER CUPCAKES

Chocolate cake batter or brownie batter
White cake batter
Sesame seeds
Frosting

Bake the chocolate cake in a sheet pan to make a thin layer.
Bake the white cake in mini muffin tins.
Cut small circles out of the cooled chocolate cake to make the burger patties.
Cut the white cake in half to make the buns.
Use different colors of frosting to make the condiments.
Sprinkle tops with sesame seeds.
Place a toothpick through each one, add a washi tape flag if desired.

DSC07214

Perfect with the cookie hot dogs and fries!

DSC07209

Hot Dog Cookies and Cookie Fries

DSC07209

These are super easy.  Super fun.  Perfect to make with your kids!  They went perfectly with our daughter’s Scooby-Doo themed birthday party.  I used homemade sugar cookie dough, but even store bought is fine. Divide the dough into thirds.  Color one third red for the hot dog, leave the other 2 thirds uncolored for buns and fries.
Divide one third into however many hot dogs you are making to make the buns.
To shape the buns, make an oval shape and cut down the middle, not quite all the way through.

DSC07199

Divide the red to make the hot dogs.

DSC07200

Shape into tiny hot dogs and place in the center of the “buns”.

DSC07201

I chilled mine so they would hold their shape better.  Then baked at 350 for about 9 minutes.
After they cooled I added a squiggle of yellow frosting for “mustard”.

DSC07213

For the fries, roll out the remaining third of uncolored dough on a silicone mat thinly (about 1/4″)
Cut into “fries”.

DSC07202

Bake and cool.  We made little paper fry pouches and lined them with checkered parchment.

DSC07208


Super Chicken

DSC09327

Why “super” chicken? Well, it’s SUPER easy, SUPER quick, SUPER crispy, and SUPER DUPER delicious.  So yes, “Super Chicken” is fitting to me!
My kids love chicken strips and I’ve made many a variations.  Some are here on the site and turn out well.  But I wanted one I could make in no time that didn’t require flipping, or frying, or marinating.  And crispy on the bottom too!  Impossible.. right?   Well, not anymore! I’ve experimented with tons of tricks that honestly don’t make that much difference.  I’ve made these with fresh breadcrumbs and that version turned out well too.. still crispy and pretty easy.  But I wanted easier.  So I took inspiration from this recipe , but used a parchment lined baking sheet so they would get crispy without sticking to the tray.
I pulse up a whole box of cornflakes in my food processor and keep them in a ziplock in the freezer for added convenience.
These were gobbled up in less time than it took to make them!

SUPER CHICKEN
1 1/2-2 lbs boneless skinless chicken breast or tenderloins
2 eggs, beaten
1 1/2 cups crushed cornflakes
1 tsp paprika
1 tsp onion powder
1 tsp garlic powder
1 tsp kosher salt
1/4 tsp black pepper
2 T unsalted butter, melted

Heat oven to 425 degrees.  Line a large baking sheet with parchment paper.
If using chicken breasts, cut into strips.
Set up 2 shallow bowls, the beaten eggs in one and combine the cornflakes and spices in another.
Dip chicken in eggs, then cornflake mixture, then place on baking sheet.
Drizzle with the melted butter.
Bake for 30 minutes.  Boom.  Dinner.

Super Chicken

Ingredients

  • 1 1/2-2 lbs boneless skinless chicken breast or tenderloins
  • 2 eggs, beaten
  • 1 1/2 cups crushed cornflakes
  • 1 tsp paprika
  • 1 tsp onion powder
  • 1 tsp garlic powder
  • 1 tsp kosher salt
  • 1/4 tsp black pepper
  • 2 T unsalted butter, melted

Instructions

Heat oven to 425 degrees. Line a large baking sheet with parchment paper.

If using chicken breasts, cut into strips.

Set up 2 shallow bowls, the beaten eggs in one and combine the cornflakes and spices in another.

Dip chicken in eggs, then cornflake mixture, then place on baking sheet.

Drizzle with the melted butter.

Bake for 30 minutes. Boom. Dinner.

Tip: Pulse up cornflakes in your food processor and store them in the freezer for added convenience. You'll have them ready whenever you need them! You could even add the spices too.
https://mystainedapron.com/super-chicken/

Related Posts Plugin for WordPress, Blogger...