Baba Ganoush (Roasted Eggplant Dip)

DSC07436
I don’t like eggplant… at all.  Or so I thought.  Enter Baba Ganoush.  None of the weird eggplant texture and all smoky, roasted flavor thanks to the long roasting time and smoky spices.  We eat hummus frequently and this is a nice way to mix it up a little bit.  My favorite way to eat it is with cucumber slices but flatbread is good too.  Especially Naan.
And this is actually better made ahead of time, so it’s perfect to make a day or two ahead of time.

Baba Ganoush (Roasted Eggplant Dip)

1 medium eggplant
1/2 tsp kosher salt
2 garlic cloves
2 T lemon juice
1 T olive oil
1 T plain yogurt (low fat is fine)
1 T tahini paste
1/4 tsp smoked paprika
1/4 tsp cumin

Pierce the eggplant 6-8 times and place in a glass baking pan.
Roast at 375 degrees for 45 minutes, then turn over.  Continue baking for 45 more minutes.
Wrap pan with foil and set aside for 15-20 minutes.
Remover outer peel and any larger clumps of seeds in the middle.  Don’t worry about getting all the seeds, but the more seeds that are left in, the more bitter the dip will be.
Break up the eggplant and spread out in the pan. Sprinkle with salt and mix in.
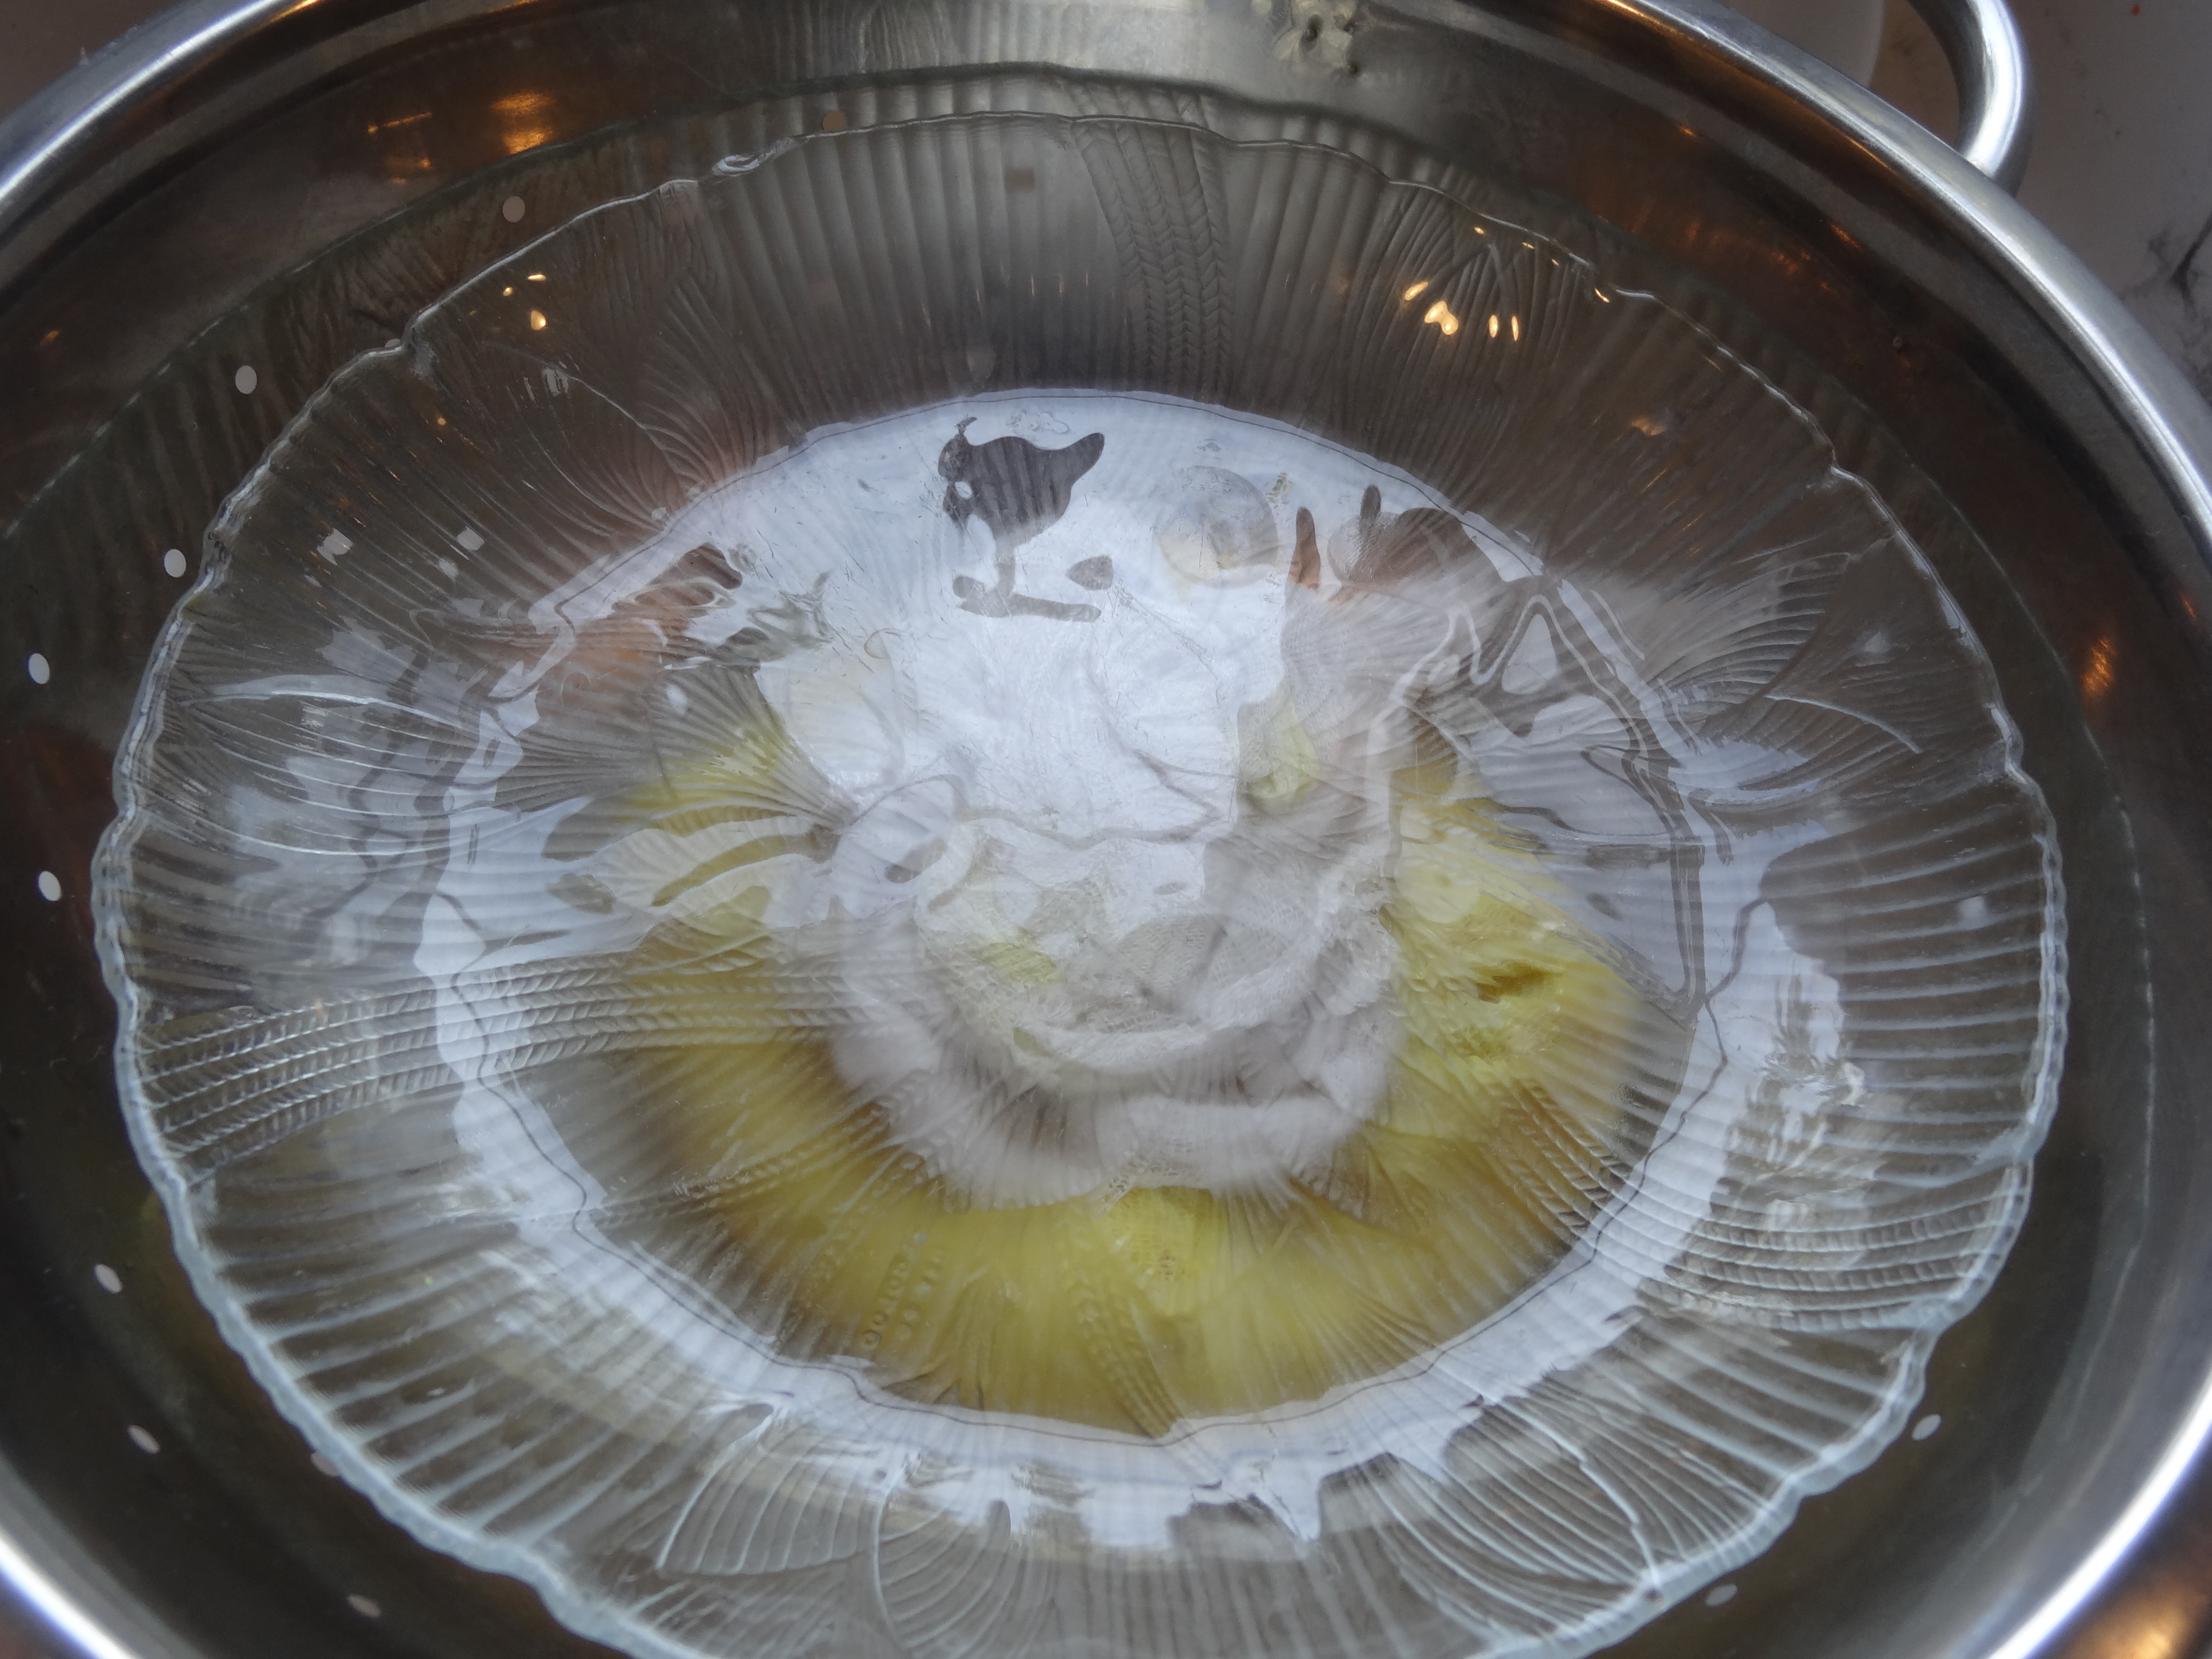
Place in a fine sieve and let drain for 15-20 minutes.
Place in a blender with remaining ingredients and blend until smooth.
Chill (overnight is best) and serve.
If desired, drizzle with olive oil and sprinkle with additional paprika.
Serve with pita bread, pita chips, or cucumber slices.

Spiced Paneer Cheese

DSC06353

Paneer cheese is just as easy and quick as Fresh Farmer’s Cheese, but you can do something kind of amazing with it.  You can sear it to get golden crispy edges.. just think about that for a minute… Oh, and did I mention it’s amazing with smoky spices in it? Kind of like the bacon of cheese.  Smoky, deep, a little spicy even if you like.  You can even use it in curries.  I can’t decide which version I like better, the curry spiced one, or the smoky paprika spiced version.  So make both and you decide.  You can make it plain without spices of course as well (which might lend better for curries).  Either way, yum!
Before you start, read this post about choosing milk for cheesemaking, and about equipment here.

SPICED PANEER CHEESE
yield: over 1 lb

1 gallon whole milk, NOT ultra-pasteurized
1/2 cup lime juice
desired spiced, optional (omit for plain paneer)*
2 T kosher salt (or to taste)

Prepare your strainer.  Line a large stainless or enamel colander with butter muslin or nut milk bag in a clean sink.
Pour milk  into a heavy bottomed pot. (Stainless steel or nonreactive)
Whisk in spices (reserving salt for later)
Heat over medium heat, stirring constantly, until milk reaches 200 degrees F.
You’ll know you’re getting close when the milk gets foamy.  Don’t let it boil though, as the cheese won’t taste quite as good.

DSC06336

Turn off the heat and add whichever acid you have chosen.  Stir very gently just to combine.  If you don’t see the curds separate add more acid, 1 T at a time.  Stir gently for 2 minutes.  This helps the curds release more whey.

DSC06337

Use a slotted spoon to gently scoop the curds into the prepared lined strainer.  If you aren’t sure if you got all the curds, strain the whey to the side of the curds.
DSC06338

Drain for 2-3 minutes, then sprinkle salt and any other seasonings and quickly fold in.

DSC06482

Let drain for a few minutes, then lightly squeeze the muslin to release more whey.
Gather the ends of the muslin and twist to release more whey.  Lay a plate and place a weight (filling your empty milk just with water or a pot works well) on top.

DSC06339

Press for 15-30 minutes, then cool to further firm cheese.

DSC06341

Store in an airtight container in the fridge for 7-10 days.

DSC06346

*SPICE IDEAS:
Curried Paneer:
Use 2-3 T curry powder
Smoky Spiced Paneer:
Use 2-3 T smoked paprika, 1 tsp ancho chili powder, 1/2 tsp black pepper, and use smoked salt instead of plain kosher.

Paneer can by seared in a hot skillet.  Heat a drizzle of olive oil or coconut oil in a nonstick skillet over medium heat.
Add sliced or cubed paneer and flip when browned.  Cook until browned on other side.
Sprinkle with salt if desired while hot.

DSC06353

Fresh Farmer Style Cheese

DSC06324
I know I said Ricotta is the “gateway cheese” but this follows close behind.  This is cheese at it’s simplest.  Milk, acid, and some salt for flavoring.   If you want an impressive appetizer, nothing beats lemon or citrus cheese with some crackers.  You could use it to make something more involved, but honestly if you make homemade cheese you should let it shine in it’s most pure and simple form.
Queso Blanco is refreshing with spicy foods, and the perfect pairing to Mexican food.
Now, enough chit chat, GO MAKE CHEESE!!!!
Before you start, read this post about choosing milk for cheesemaking, and about equipment here.

FRESH FARMER STYLE CHEESE
makes approx. 1 lb

1/2 gallon whole milk, NOT ultra-pasteurized
1/4 cup acid* (see note at bottom of recipe)
kosher salt to taste (start with about 1/2 tsp)

Prepare your strainer.  Line a large stainless or enamel colander with butter muslin or nut milk bag in a clean sink. (or line a mold with butter muslin, pictures later on for those directions)

DSC06316

Pour milk and into a heavy bottomed pot. (Stainless steel or nonreactive)
Heat over medium heat, stirring constantly, until milk reaches 200 degrees F.
You’ll know you’re getting close when the milk gets foamy.  Don’t let it boil though, as the cheese won’t taste quite as good.

DSC06317

Turn off the heat and add whichever acid you have chosen.  Stir very gently just to combine.  If you don’t see the curds separate add more acid, 1 T at a time.  Stir gently for 2 minutes.  This helps the curds release more whey.

DSC06319

Use a slotted spoon to gently scoop the curds into the prepared lined strainer.  If you aren’t sure if you got all the curds, strain the whey to the side of the curds.  You just made cheese! Yay!
Sprinkle salt and any other seasonings and fold in.
For a creamier cheese you can mix in a tablespoon or 2 of heavy cream.
Let drain for a few minutes, then lightly squeeze the muslin to release more whey.  Or for a dryer cheese, tie the corners of the muslin in a knot and hang from a cabinet knob or banana tree (with a bowl underneath to catch drips) and drain for 1 hour.

DSC06320

If you want to press the cheese into a mold, gather up the ends of the butter muslin and put the bundle of curds into a cheese mold.

DSC06322

Place a weight on top and leave for 1 hour.

DSC06321

CHEESE!!!

DSC06324

Store in an airtight container in the fridge for 7-10 days

NOTE ABOUT CHOOSING AN ACID:.
To achieve coagulation (the separation of curds and whey) you need an acid.  The flavor of cheese you’ll have depends on the type of acid you’ll use.  Citrus juices will leave more of an citrus aftertaste, vinegar will have a cleaner more neutral flavor.

Lemon Cheese:
Use lemon juice (Can add zest for more flavor too)
Citrus Cheese:
Use a mixture of citrus juices, such as lemon and orange.  Just remember some citrus juices are less acidic than others, and may not be able to achieve coagulation.  For this reason I recommend using at least half lemon juice.  You can always add extra citrus juice for more flavor.  Adding zest will add the most flavor as well.
Queso Blanco:
Use apple cider or white distilled vinegar.  This is a nice mild cheese excellent for crumbling into Mexican dishes.

DIY Ricotta Cheese

DSC07257
Ricotta cheese is definitely the “gateway cheese”.  I’m pretty sure most, if not all, people I know have had ricotta cheese that came from a carton.  But they have also not had the chance to enjoy fresh, homemade ricotta.  It is such a vastly different product that it will instantly sell you on the notion of going to the trouble (all though, it really is incredibly quick and easy!) of making your own.  It is so scrumptious you may not even want to cook with it.  You may want to sprinkle it with salt and pepper, drizzle of olive oil, and spread it on slices of baguettes… or just eat it with a spoon.  Can you say that about a carton of mystery cheese from the supermarket?!
Before you start, read this post about choosing milk for cheesemaking, and about equipment here.

DIY RICOTTA CHEESE
Makes approx 2 1/2 to 3 cups

1/2 gallon whole milk, NOT ultra pasteurized (see milk buying guide here)
1 to 4 cups cream (Ultra pasteurized is okay here)*
1/2 cup lemon juice
kosher salt, to taste (I usually add 1/2-1 tsp)

Prepare your strainer.  Line a large stainless or enamel colander with butter muslin or nut milk bag in a clean sink.
DSC07253
Pour milk and cream into a heavy bottomed pot. (Stainless steel or nonreactive)
DSC07249
Heat over medium heat, stirring constantly, until milk reaches 190 degrees F.
You’ll know you’re getting close when the milk gets foamy.  Don’t let it boil though, as the cheese won’t taste quite as good.
DSC07250
Turn off the heat and add the lemon juice.  Stir very gently just to combine.  If you don’t see the curds separate add lemon juice, 1 T at a time.  Remove from the heat, cover, and leave undisturbed for 5-10 minutes.
Pour the curds and whey into the prepared strainer.
DSC07254
Drain for about 10 minutes then gently twist the ends to squeeze out more whey.
DSC07256
Scrape out into a bowl and sprinkle with salt and any other seasonings.
Very gently mix in.  Over mixing will make the ricotta drier and crumblier so be quick for the creamiest texture!
If it isn’t as creamy as you want, try adding a few spoons of heavy cream.
Store in an airtight container in the fridge for 7-10 days.

Note: The more cream you use, the creamier your ricotta with be.  I typically use 2 cups per half gallon of milk.
In this instance, ultra-pasteurized is okay for the heavy cream (also labeled as heavy whipping cream) because it is being used for added butterfat.  This will make for a super creamy ricotta, instead of a drier, crumbly farmer cheese.

Beginning Cheesemaking

Cheesemaking can be as complicated or as simple as you want it to be.  I have yet to delve into making hard cheese.. but I am sure in time I will 🙂 I keep thinking about getting a mini fridge to put in the garage to make into a cheesecave. But until then I will enjoy making fresh cheeses.  They take minimal time, effort, and equipment.
I’m going to break it down for you to make it simple.
As far as the equipment goes, this is what you’ll need to start:

DSC07245

Thermometer
Large, stainless steel pot with a heavy bottom.  My favorite is one from IKEA.
Large colander (Stainless or enamel, nonreactive)
Measuring cups and spoons
Long handled spoon (I prefer a stainless steel one, dishwasher safe so easy to sanitize)
Butter muslin or nut milk bag (You can also use multiple layers of cheesecloth)
Nut milk bags are my favorite because they work well and they are very washable.  The butter muslin does the same pretty much but the nut milk bags can be reused longer and don’t fray.

DSC07248

Some other non-necessity items you may want later:
My favorite thermometer is a long glass one, here is a similar one.
Cheese molds
Banana tree for hanging cheese to drain.  (You can totally hang it from a cabinet knob too)

You might have most of this in your kitchen all ready.  A good resource if you need it though is cheesemaking.com or even Amazon has some cheesemaking supplies.

As far as choosing the right milk, read this here.

Choosing Milk for Cheesemaking

DSC07246
I’m going to be sharing some cheese-making recipes this week and wanted to start with this. When I teach a cheese-making class this is the first and most important thing to go over.  If you use the wrong milk, it’s all for nothing. While raw milk is recommended widely online and in some books for cheese-making, I would never suggest it due to safety risks.  My mother’s neighbor got undulant fever when she was a child and he basically spent the rest of his life slowly dying, in very poor health.  So yeah, not worth the risk.  Pasteurized, unhomogenized is my personal choice because you get the best of both worlds.  It is only processed enough to kill harmful bacteria, but not overly so.  This is typically available from small local farms and done with great care.  A very far cry from the plastic jugs of Ultra-pasteurized milk that can be left on the counter because it’s so overly processed.

TYPES OF MILK:                 

Pasteurized, unhomogenized (also called “cream line” milk): Pasteurized milk is heated and cooled to eliminate bacteria.  You should see a “plug” of cream at the top of the bottle.  This is usually sold in glass bottles.  This is my preferred milk for cheese-making.  It is safe and makes great cheese.

Pasteurized and homogenized:  This milk goes through the pasteurization process, then homogenized.  This is a mechanical process that breaks up the fat molecules so small that they will stay suspended in the milk instead of the cream rising to the top.  The curds will be softer and you can use this to make ricotta or farmers cheese, maybe even paneer.

Ultra-pasteurized:    Heated higher, this extends the milk’s shelf life from 18 to 60 days. (Not always well labeled, look for UP, UHP, or Ultra-Pasteurized on jug).  Though you might be able to make farmer’s or ricotta cheese, it is not suitable for most cheesemaking and I don’t recommend it.

Raw: Completely unprocessed milk which has not been pasteurized or homogenized.  Due to safety risk, I do not recommend this.

Dried: You can make cheese from dry milk powder, as long as it isn’t Ultra-pasteurized.  Will you want to eat it?  Well, that’s questionable!

OTHER TERMS TO KNOW:
FAT CONTENT:
  You can use any fat content, but keep in mind that the higher the fat content, the higher the yield.  So if you are going to the trouble to make homemade cheese, you may want to stick with whole milk.  The lower the fat content is, the drier and more crumbly your cheese will be as well.

CALCIUM CHLORIDE: Can be added to homogenized milk to achieve separation of curds.  Not necessary for farmer’s cheese or ricotta.

Cilantro Lime Salad Dressing

DSC07143

I’ve been trying to get all my recipes in order lately.  Most of them are little scribbles on scraps of paper scattered around.  They don’t usually even have a title so I sometimes forget what it is and have to attempt to decipher by the list of ingredients!  The other day I was going to make this and couldn’t find the scrap of paper! Panic!  I thought I had posted it here but hadn’t.  A frantic 15 minutes later I found it, phew!  This is a favorite here and I use it primarily for Sweet Pork Tostadas  or taco salad.  It’s perfect for tacos as well.  We have found we don’t need sour cream or cheese, this adds so much flavor and creaminess.

CILANTRO LIME SALAD DRESSING

1 packed cup cilantro (1 bunch)
3 cloves garlic
1/2 cup sour cream
1/4 cup lime juice
1/2 cup olive oil
salt and pepper, to taste

Blend all ingredients together in a blender until smooth.
TIP: I rinse off the cilantro and just break off the bottom half or third of stems and use the leaves with some stems still on them.  Since you are blending it up, and the stems actually have a good amount of flavor, use them!

Oatmeal Pancake Mix

DSC07074

I recently taught my 4-H kids how to make this, in the hopes they will make their Mom’s breakfast on Mother’s day.  I love this mix, especially since it has whole grains.  And once you have the mix made they are so quick and easy to make.  I have an old oat pancake recipe that I like but my girls would never eat it.  This one they love though.  By making the oats into flour first the texture is really nice.  I have done up to 3 cups whole wheat for the flour, you can do all whole wheat but they will be pretty heavy and dense.
As is they are light and fluffy and the oats have a nice nutty flavor.

OATMEAL PANCAKE MIX
3 ½ cups old-fashioned rolled oats
5 cups flour (up to 3 cups can be whole wheat)
3 T sugar
3 T baking powder
1 T salt
1 T baking soda
1 cup vegetable or canola oil

Grind oats in a blender or food processor.
Mix with flour, sugar, baking powder, salt, and baking soda.
Using a stand or hand mixer, slowly add the oil while mixing on low. I prefer using a mixer with a paddle attachment or using my food processor fitted with the blade attachment, just slowly pour in the oil while it is mixing.  The idea is you don’t want any large clumps.
Store in an airtight container in the freezer.

To make pancakes:
1 cup mix 1 cup buttermilk
1 large egg
1 T orange juice, optional (this helps if you are using whole wheat flour in your mix)

Whisk together and let stand at least 10 minutes for the grains to soak up the liquid. (The batter will seem thin at first).
Drop batter on a griddle heated to medium. Flip when small bubbles appear around edges.
Cook until 2nd side is golden brown. Keep warm on a baking sheet in a 200 degree oven if needed.
No Buttermilk? For every cup of buttermilk a recipe calls for you can substitute one of these:
-½ cup plain yogurt mixed with ½ cup milk
-1 cup milk mixed with 1 T white vinegar or lemon juice.  Let stand for a few minutes before using.

Recipe slightly adapted from King Arthur Flour

DSC07156

DIY Jewelry Cabinet

DSC02596

This had been on my to-do list for a long time.  My small jewelry cabinet I had didn’t hold any of my longer necklaces or the bulky ones I’ve gotten as gifts from my girls.

I started with a couple of wood cabinet doors I picked up in the IKEA As-is section for a couple dollars each.  (Cheaper than building them!)  While I’m pretty comfortable with simple woodworking, I wasn’t so sure the doors would come out looking as nice.  When I saw them I knew it was time to make that jewelry cabinet I’d been wanting to make and they made it much quicker!
I made a simple frame using pine 1 x 4 and my kreg jig.  Then I added a back with a scrap piece of 1/4″ plywood.  I picked up some small hardwood trim pieces for the dividers and put the hooks in.  This probably took the longest!
Then I painted, attached, and added some stenciling.  I didn’t love the stenciling, but I didn’t hate it either.  I figured it would be partially covered anyways so I left it.
The chains on the right side are for pins and earrings… which I’m not sure why I went to the trouble… since I don’t have pierced ears!

100_8242

A close up of the hooks.  I used inexpensive hooks, predrilling made it a little easier.

DSC02590

The little ceramic hand ring holder was my Grandmother’s and I love that it has a place where it won’t get broken!

DSC02589

I covered a piece of foamcore with fabric and glued it to the inside of the door for pins.

100_8244

I added the drawers from my old jewelry cabinet along the bottom for little things.  And there you go, contained mess!
Can you spot the gifts from my daughters?! 😉

DSC02588

I added some glass knobs and a ledge shelf, using Ana White’s plan, for whatnot.

DSC02596

Best Ever Burritos (Freezer Friendly!)

DSC01967
There are 2 types of food that I know without a shadow of a doubt, my hubby will LOVE.  Pizza and Mexican.  Pretty much any variety of either.  Well, almost.  There was the cauliflower pizza crust experiment.. we don’t talk about that. 😉

I love keeping these on hand in the freezer, either for dinner or lunches.  I make them lots of ways, and we like them equally with shredded chicken too.  Homemade enchilada sauce and refried beans aren’t a must but if you want the best EVER you really should put in the extra time on those, they are so much yummier.
You can adapt these to your own taste, if I have leftover refried beans I sometimes whip some up with just beans and cheese in them too.
I’ve even made them with leftover turkey from a holiday.  Adding the enchilada sauce to the meat helps it stay moist.

BEST EVER BURRITOS
For the beef:
2 lbs roast
1 tsp salt
1/4 tsp pepper
1 tsp oregano
1/2 tsp chipotle powder
1 tsp cumin
1 tsp onion powder
1 tsp garlic powder

To assemble:
Flour Tortillas
Homemade Enchilada Sauce, or store bought
White or Red Rice
Refried Beans
Shredded cheese, I use a combination of monterey jack and cheddar

To serve:
Shredded lettuce
chopped tomatoes
Guacamole
Sour Cream
Sliced olives

Combine all the spices together in a small bowl.  Coat the roast with the spices.  Heat a drizzle of oil over medium high heat in a heavy oven safe pot and sear all sides of the meat.
Add 1 cup of water, cover, and bake at 350 degrees for 3 hours or until roast falls apart. (TIP: If your roast doesn’t have much marbling of fat or is a cheaper cut, cut into smaller pieces so it will break down faster.)  Shred meat and toss with enchilada sauce.
To assemble burritos:
In a flour tortilla, place rice, meat, and beans.  Fold up one long side, then the short sides, and then roll tightly.
DSC01961
In the picture I also have shredded chicken tossed with enchilada sauce since I was making some chicken ones for the freezer as well.
DSC01963
If I’m freezing them, at this point I roll it snugly in foil then place them in a ziplock bag.
DSC01965

Place on a baking sheet and top with a little enchilada sauce (more if you want a “wet” burrito) and some cheese.
Bake at 375 degrees until cheese is melted and warmed through.

Related Posts Plugin for WordPress, Blogger...